
Edge-Lit vs Backlit Light Guide Panels: Which LGP Fits?
Edge-Lit vs Backlit Light Guide Panels: Choosing the Right LGP for Your Project
The choice between an edge-lit and a backlit light guide panel is decided by three project variables, not by a general preference: the uniformity target, the depth the structure can spare, and the direction from which the finished assembly will be serviced. Frame width, driver sizing, panel size and sample approval all follow from those three answers.
This guide compares the two configurations against the operating envelope EDGELIGHT publishes for its LGP model: PMMA acrylic construction, an IP20 to IP65 protection range, a −20 °C to 50 °C operating range, 2700 K to 6500 K colour temperature, 101 W typical and 144 W maximum power consumption, 7.2 A maximum current, and luminous flux above 1080 lm. Those figures are a reference set published by the manufacturer for one model line, not a universal industry specification — their value here is that they show where each configuration strains and where customisation absorbs the strain.

Problem definition: the light path decision locks in four others
A light guide panel does one job — it turns a small number of LEDs into an evenly lit face. Edge-lit and backlit panels do that job from opposite directions, and the direction decides the rest of the mechanical package before a single sheet is cut.
Once the light path is fixed, four downstream decisions stop being free:
- Frame width and rear depth — an edge-lit panel needs a frame wide enough to house the LED strip and its heat path; a backlit panel needs a mixing gap between the LED array and the diffusing surface.
- Driver location and cable routing — where the LEDs sit determines where the driver can sit without a visible cable crossing the lit face.
- Service access direction — front, side or rear access has to be designed in, not negotiated on site.
- Panel size and joint strategy — large faces behave differently in each configuration, and the point at which a single panel stops being practical differs.
The failure mode is consistent across projects: a drawing specifies a shallow box, a tight uniformity target and rear service access at the same time, which is a combination that has already ruled out the simplest option without anyone saying so. The correction then lands after tooling and after the first production run.
Industry background: both configurations are available, so the decision is engineering
The light guide plate market was valued at USD 3.91 billion in 2025 and is projected to reach USD 6.51 billion by 2034, a compound annual growth rate of 5.8%, according to Dataintelo market research. Asia Pacific held a 48.2% revenue share in 2025, which reflects where the production base sits rather than where the panels are installed.
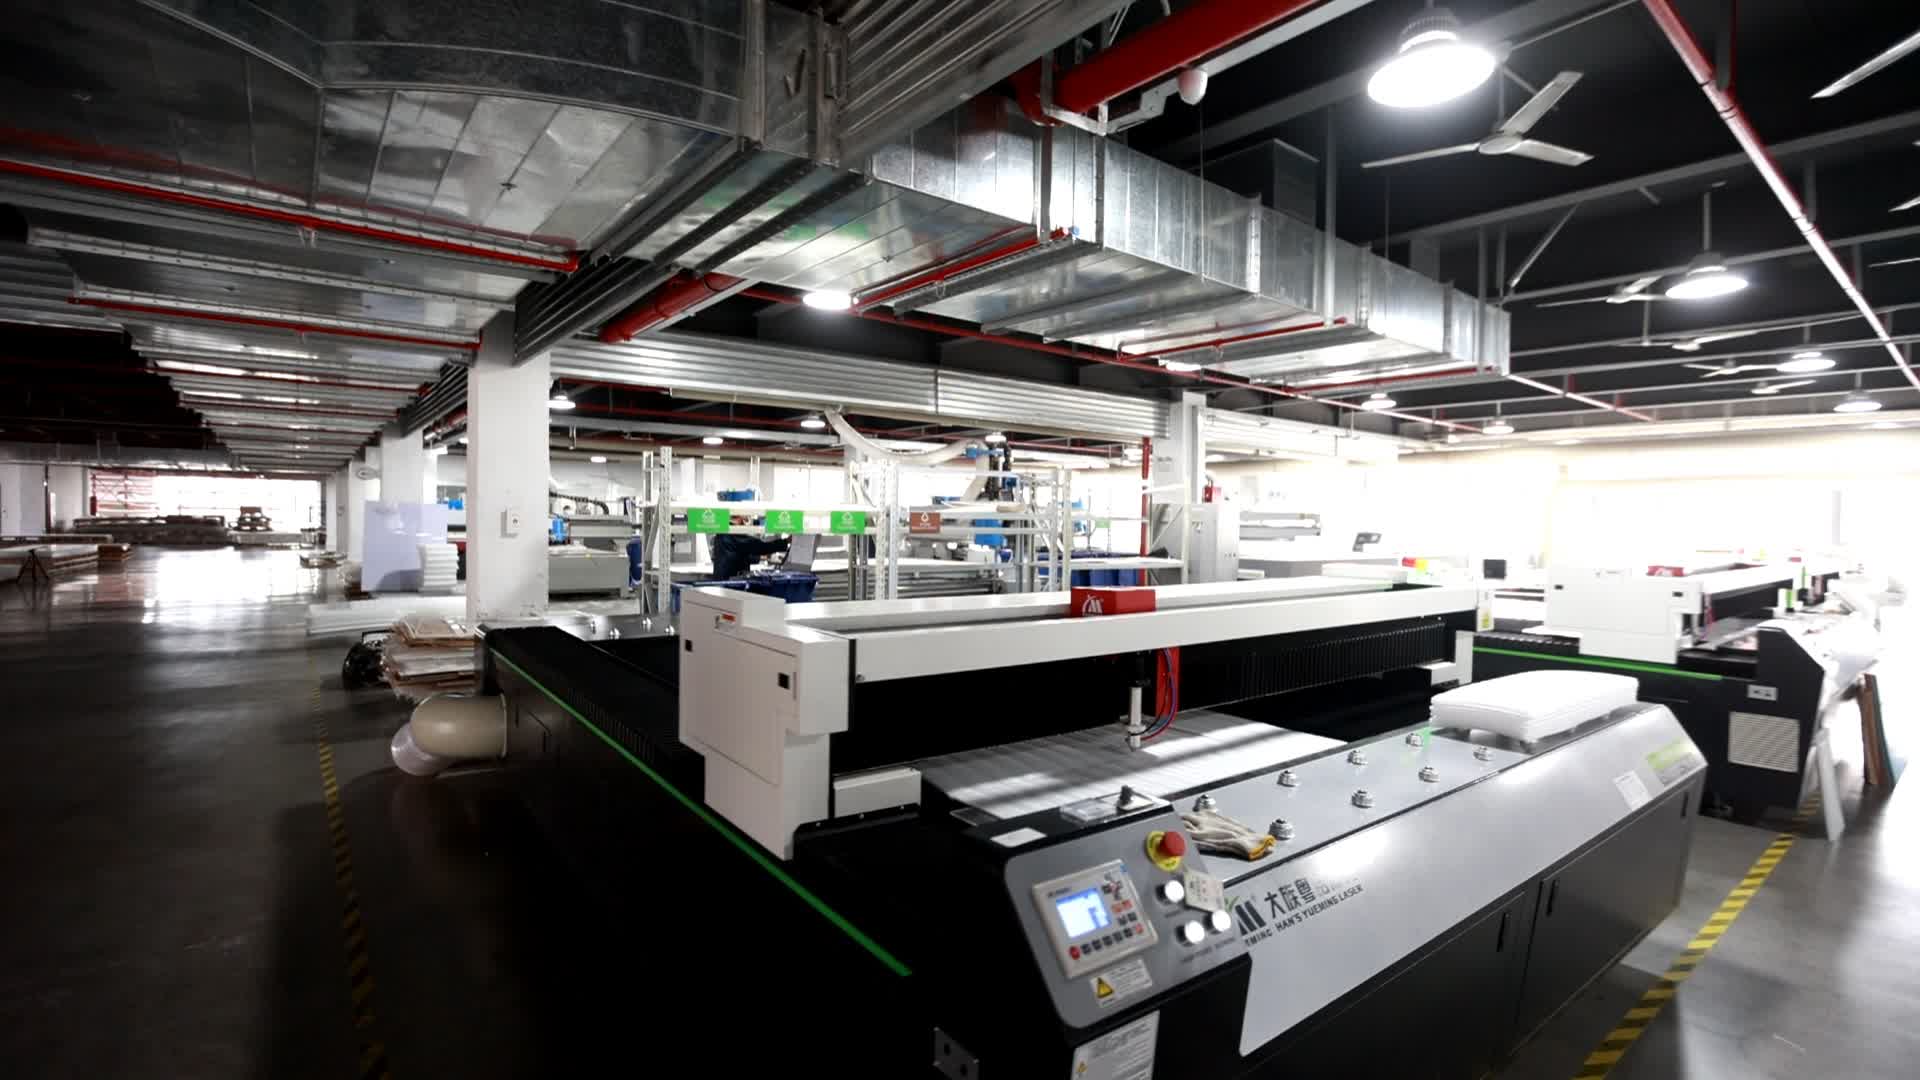
For procurement purposes, panels move under HS code 9405.61 for LED-based illuminated panels or 8529.90.90 for display parts. Supply is geographically spread: Shanghai Edgelight Industry Co., Ltd. (EDGELIGHT), founded in 2004, operates from a 33,000 m² main production base in Shanghai with additional bases elsewhere, opened a Los Angeles production base in March 2020 to serve the North American market, and exports roughly 75% of total sales with the USA and EU as major markets. LightPanel states that it manufactures custom LED light guide panels in North Carolina for sign fabricators and display builders.
The practical consequence for a specifier is that neither architecture is a supply constraint. Both can be sourced, so the selection has to be justified on the project's own terms — which is exactly where most tender documents stay silent.
Detailed solution: how each configuration moves light
Edge-lit extraction: light enters at the boundary
An edge-lit light guide panel couples LEDs into one or more edges of a PMMA sheet. The acrylic holds that light by total internal reflection and releases it only where a pattern on the surface breaks the reflection at a controlled density. That pattern is the optical design: printed white ink dots, laser-dotted points, or V-cut grooves, each with a density gradient that increases with distance from the LED entry edge so the far end of the panel receives as much extracted light as the near end.
EDGELIGHT's manufacturing scope covers light guide plates together with laser-dotting and V-cut Edgelux panels, and complete slim light boxes, which means both extraction methods sit inside a single supply relationship. The structural consequence is that overall depth is set by frame width plus panel thickness — not by a rear cavity. This is what makes the ultra-thin light guide panel approach viable for slim light boxes where the mounting surface cannot give up 60 mm or more.
Backlit illumination: light starts behind the panel
A backlit configuration places the LED array directly behind the panel. The panel, or a diffuser placed in front of it, spreads the individual points of light into a continuous field. Here the critical dimensional variable is the distance between the LED array and the diffusing surface: too short and individual LEDs remain visible as a pattern; too long and the assembly loses the depth advantage it might otherwise have had.
Because the light does not have to travel the length of the panel, backlit assemblies are less sensitive to panel size in the optical sense and more sensitive to LED pitch and diffusion design. For a high brightness light guide panel used in an advertising display viewed from several metres, that trade is often acceptable. For a reception wall viewed from one metre, it is usually not, unless the diffusion stack is specified carefully.
The specification set that applies to both
Before comparing architectures, it helps to fix the reference figures that any configuration will be measured against. EDGELIGHT publishes the following example operating set for its LGP model:
- Material: PMMA acrylic is the primary construction material.
- Power: 101 W typical consumption, 144 W maximum, at 7.2 A maximum current.
- Output: luminous flux above 1080 lm.
- Colour temperature: 2700 K to 6500 K.
- Protection grade: IP20 to IP65 across the range.
- Operating temperature: −20 °C to 50 °C.
Panel thickness across the market commonly spans 3 mm, 4 mm, 5 mm, 6 mm, 8 mm and 10 mm in PMMA, and at least one supplier documents a 10 mm (0.39 in) single-sided acrylic construction positioned as ultra-thin. These are reference points for an RFQ, not a guarantee for a given SKU: an IP65 rating at one size does not automatically transfer to a 2400 mm panel, and 101 W typical belongs to a defined configuration rather than to the product family as a whole.
Step-by-step breakdown: a seven-step selection sequence
Step 1 — Fix the uniformity target and the viewing distance
Uniformity is a ratio, and a ratio means nothing without a viewing distance attached to it. A face read from 300 mm in a retail display exposes dot pattern artefacts and corner falloff that the same face read from 3 m would hide. Write both numbers into the brief before comparing configurations, because a uniform illumination light guide panel that satisfies a 3 m specification may fail at 500 mm.
Step 2 — Measure the depth you can actually spare
Take the measurement from the finished surface, not from the wall. A shallow box with a rear service void is not shallow. If the available depth is below roughly the thickness of the panel plus the frame, the edge-lit route is the only one that closes; if there is depth available and the face is large, a backlit array deserves evaluation.
Step 3 — Decide the service access direction
This step is skipped most often and costs the most later. Edge-lit assemblies place the LED strip in the frame, so service normally happens from the frame edge or by releasing a side extrusion. Backlit assemblies place the array behind the panel, so service normally requires rear or full-face access. For a panel recessed into a stone wall, that difference is decisive.
Step 4 — Build the electrical budget
Use the published figure for the exact configuration and multiply by the number of panels on the circuit. The example set of 101 W typical and 144 W maximum at 7.2 A maximum current is the right order of magnitude for planning driver capacity and circuit loading; it is not a substitute for the per-configuration figure. Note that a 144 W maximum implies headroom requirements above the typical draw, which affects driver selection more than panel selection.
Step 5 — Check luminous flux against the application
Above 1080 lm is a meaningful figure for signage and display backlighting and a generous one for ambient architectural use. Match it to the application rather than maximising it: an office feature wall lit at signage brightness reads as glare, while a high brightness light guide panel for advertising displays needs the output to survive ambient light in a lit retail environment.
Step 6 — Confirm the environmental envelope
Check the protection grade and operating temperature against the installation, not against the catalogue. The published range of IP20 to IP65 and −20 °C to 50 °C spans multiple configurations; the grade that applies to your order has to be stated on the drawing. The same logic applies to colour temperature: 2700 K to 6500 K is a range, and mixing two panels from different points in that range on one elevation is visible.
Step 7 — Validate with a sample, not with a drawing
Ask for a panel at the production size, viewed at the production distance. Check the full face for corner falloff, check the dot pattern for visible banding at the LED entry edge, and run the assembly continuously long enough to see whether the thermal design holds. EDGELIGHT's quality procedures include full-product thermal aging cycle testing before shipment, with built-in real-time temperature sensors, an auto overheat power-off circuit and a high-efficiency heat dissipation structure, backed by a dual integrated thermal and electrical safety protection system with multi-stage circuit interlock. That is the kind of control a long-run project should be able to name, whichever configuration is chosen.
Where customisation resolves the deadlock
Most projects do not sit cleanly in one column. The face is large but the depth is tight; the access is front-only but the uniformity target is loose. Customisation on size, thickness and installation structure is what moves a project from a forced compromise to a workable one — a thinner PMMA sheet with a denser dot pattern for a constrained depth, a split panel with a concealed joint for a face beyond single-sheet handling, or a frame extrusion designed around the access direction the building actually offers.
Because a light guide panel for LED light box OEM work is normally specified from the drawing outward rather than from a catalogue inward, the configuration question and the customisation question are usually answered in the same conversation.
Use cases: where each configuration tends to win
Commercial office and corporate interiors
Office installations typically combine a shallow ceiling or wall build-up with close viewing distance and long daily operating hours. Edge-lit suits the depth constraint and the low profile; the electrical budget matters more than peak brightness, because these panels run for the working day. A typical consumption figure near 101 W is the number to plan against, with maximum draw reserved for driver headroom.
Retail display and brand environments
Retail combines close viewing distance with high brightness expectations and a demand for even illumination across the whole merchandise face. EDGELIGHT's panel applications cover luxury retail window displays and vitrines, consumer electronics counters, jewellery and watch cases, cosmetics shelving and boutique interiors. In these settings the uniform illumination light guide panel route is usually the right starting point, and the decision narrows to extraction method rather than architecture.
Signage and advertising displays
Signage is where backlit evaluation earns its place: faces are large, viewing distance is long, and the tolerance for a visible LED pitch is higher because the viewer is further away. A high brightness light guide panel for advertising displays needs output that holds against ambient light, and the >1080 lm reference is a sensible floor to check against rather than a target to exceed without reason.
Hospitality and feature installations
Hospitality projects — hotel lobbies, reception areas, guestroom features, elevator cabin walls and control-panel backlighting, exhibition and museum showcases — usually carry a mixed brief: decorative, close-viewed and often inaccessible. Here the maintenance access question in Step 3 typically decides the architecture before the optics do. Where the panel is sealed into a decorative finish, edge-lit service from a concealed frame is the difference between a five-minute replacement and a demolition.
Comparison table: decision variables side by side
| Decision variable | Edge-lit configuration | Backlit configuration | Reference figure to confirm in the RFQ |
|---|---|---|---|
| Light path | LEDs coupled into the panel edge; light extracted by a printed, laser-dotted or V-cut pattern | LED array positioned behind the panel; light blended by diffusion distance | State the extraction method and LED pitch explicitly |
| Overall depth | Set by frame width plus panel thickness | Set by the gap between LED array and diffusing surface | Give the maximum depth in millimetres on the drawing |
| Panel thickness | PMMA options commonly 3, 4, 5, 6, 8 and 10 mm; a 10 mm (0.39 in) single-sided construction is documented as ultra-thin | Thickness is not the depth limiter; the cavity is | Confirm thickness against the dot pattern design, not in isolation |
| Uniformity | Governed by dot pattern density gradient across the face | Governed by LED pitch and diffusion distance | State uniformity target with viewing distance attached |
| Maintenance access | Service from the frame edge or a releasable side extrusion | Service from the rear or via full-face removal | State the access direction the building actually allows |
| Power consumption | Configuration-dependent; the published example set for the EDGELIGHT LGP model is 101 W typical and 144 W maximum at 7.2 A maximum current | Request the per-configuration figure in writing | |
| Luminous flux | Published example set: above 1080 lm | Match output to application, not to the highest available figure | |
| Colour temperature | Published example range: 2700 K to 6500 K | Fix one point in the range per elevation to avoid visible mismatch | |
| Protection grade | Published example range: IP20 to IP65 | Confirm which grade applies to the ordered size and structure | |
| Operating temperature | Published example range: −20 °C to 50 °C | Check against the installation environment, not the catalogue | |
The table is deliberately asymmetric: the optical and mechanical rows separate the two configurations, while the electrical and environmental rows describe the reference set that applies to the model line as a whole. Treating the second group as architecture-specific is a common specification error.
Frequently asked questions
Do edge-lit and backlit panels carry different protection-grade or temperature requirements?
No — the requirement follows the installation environment, not the light path. EDGELIGHT publishes an IP20 to IP65 protection range and a −20 °C to 50 °C operating range for its LGP model, and those two figures sit at opposite ends of their respective scales. The grade a project needs is determined by where the panel is installed; the architecture determines how easily that grade can be achieved at the required size. Because the published range covers multiple configurations, the applicable grade must be confirmed in writing for the exact size and structure being ordered rather than assumed from the range.
Can a single supplier deliver both configurations in custom sizes and thicknesses?
It can, provided the supplier's manufacturing scope covers both the panel and the extraction or diffusion method. EDGELIGHT's scope includes light guide plates, laser-dotting and V-cut Edgelux panels, and complete slim light boxes, with customization support for size, thickness and installation structure. Common PMMA thickness options across the market run from 3 mm to 10 mm, and a 10 mm (0.39 in) single-sided acrylic construction is documented as ultra-thin. Panel size feasibility should still be confirmed per configuration with a sample, because a size that works in one architecture may not work in the other.
How much does power consumption change the decision?
It changes the electrical design more than the architecture choice. The published example set for the EDGELIGHT LGP model is 101 W typical consumption, 144 W maximum, at 7.2 A maximum current, with luminous flux above 1080 lm. The gap between typical and maximum is what driver selection has to accommodate; the typical figure is what running-cost estimates should use. Because these values describe a defined configuration, a project should request the figure for its own panel size and LED arrangement before sizing circuits or drivers.
What should a sample evaluation cover before the design is released?
A sample should be produced at the specified size and reviewed at the specified viewing distance. Check the full face for corner falloff and banding at the LED entry edge, confirm that the colour temperature falls at the intended point within the 2700 K to 6500 K range, and run the assembly continuously to observe thermal behaviour. EDGELIGHT accepts products through pre-shipment test procedures and performs full-product thermal aging cycle testing before shipment, using built-in real-time temperature sensors, an auto overheat power-off circuit and a high-efficiency heat dissipation structure under a dual integrated thermal and electrical safety protection system with multi-stage circuit interlock.
What are the commercial terms for a first order, and what changes on a long-run project?
The minimum order quantity is 1 unit, delivery terms are FOB or CIF, acceptance is confirmed through a pre-shipment test procedure, and payment is structured as 30% deposit with the remaining 70% due before shipment. Export business accounts for 75% of total sales, with the USA and EU as major markets, so documentation for those destinations is routine rather than exceptional. Long-run projects typically shift the discussion from unit terms to supply continuity and after-sales structure; the current product catalogue and the technical team are the right starting points for that conversation.
Conclusion: decide from the constraint, not from the catalogue
Neither configuration is the default answer. Edge-lit wins when depth is scarce, when viewing distance is short, and when the panel will be sealed into a finish that only allows frame-edge service. Backlit earns its place when the face is large, the viewing distance is long, there is cavity depth to spend, and rear access is available. In both cases the reference set — PMMA construction, IP20 to IP65, −20 °C to 50 °C, 2700 K to 6500 K, 101 W typical and 144 W maximum at 7.2 A, above 1080 lm — is the yardstick the chosen configuration has to meet, not a substitute for the decision.
The selection framework that holds up under review is short: uniformity target with a viewing distance, available depth in millimetres, service access direction. Answer those three in writing before the drawing is issued, and the architecture chooses itself. Where the three answers conflict, customisation on size, thickness and installation structure is what turns a forced compromise into a workable specification.
Next step: a sample for the face you actually have
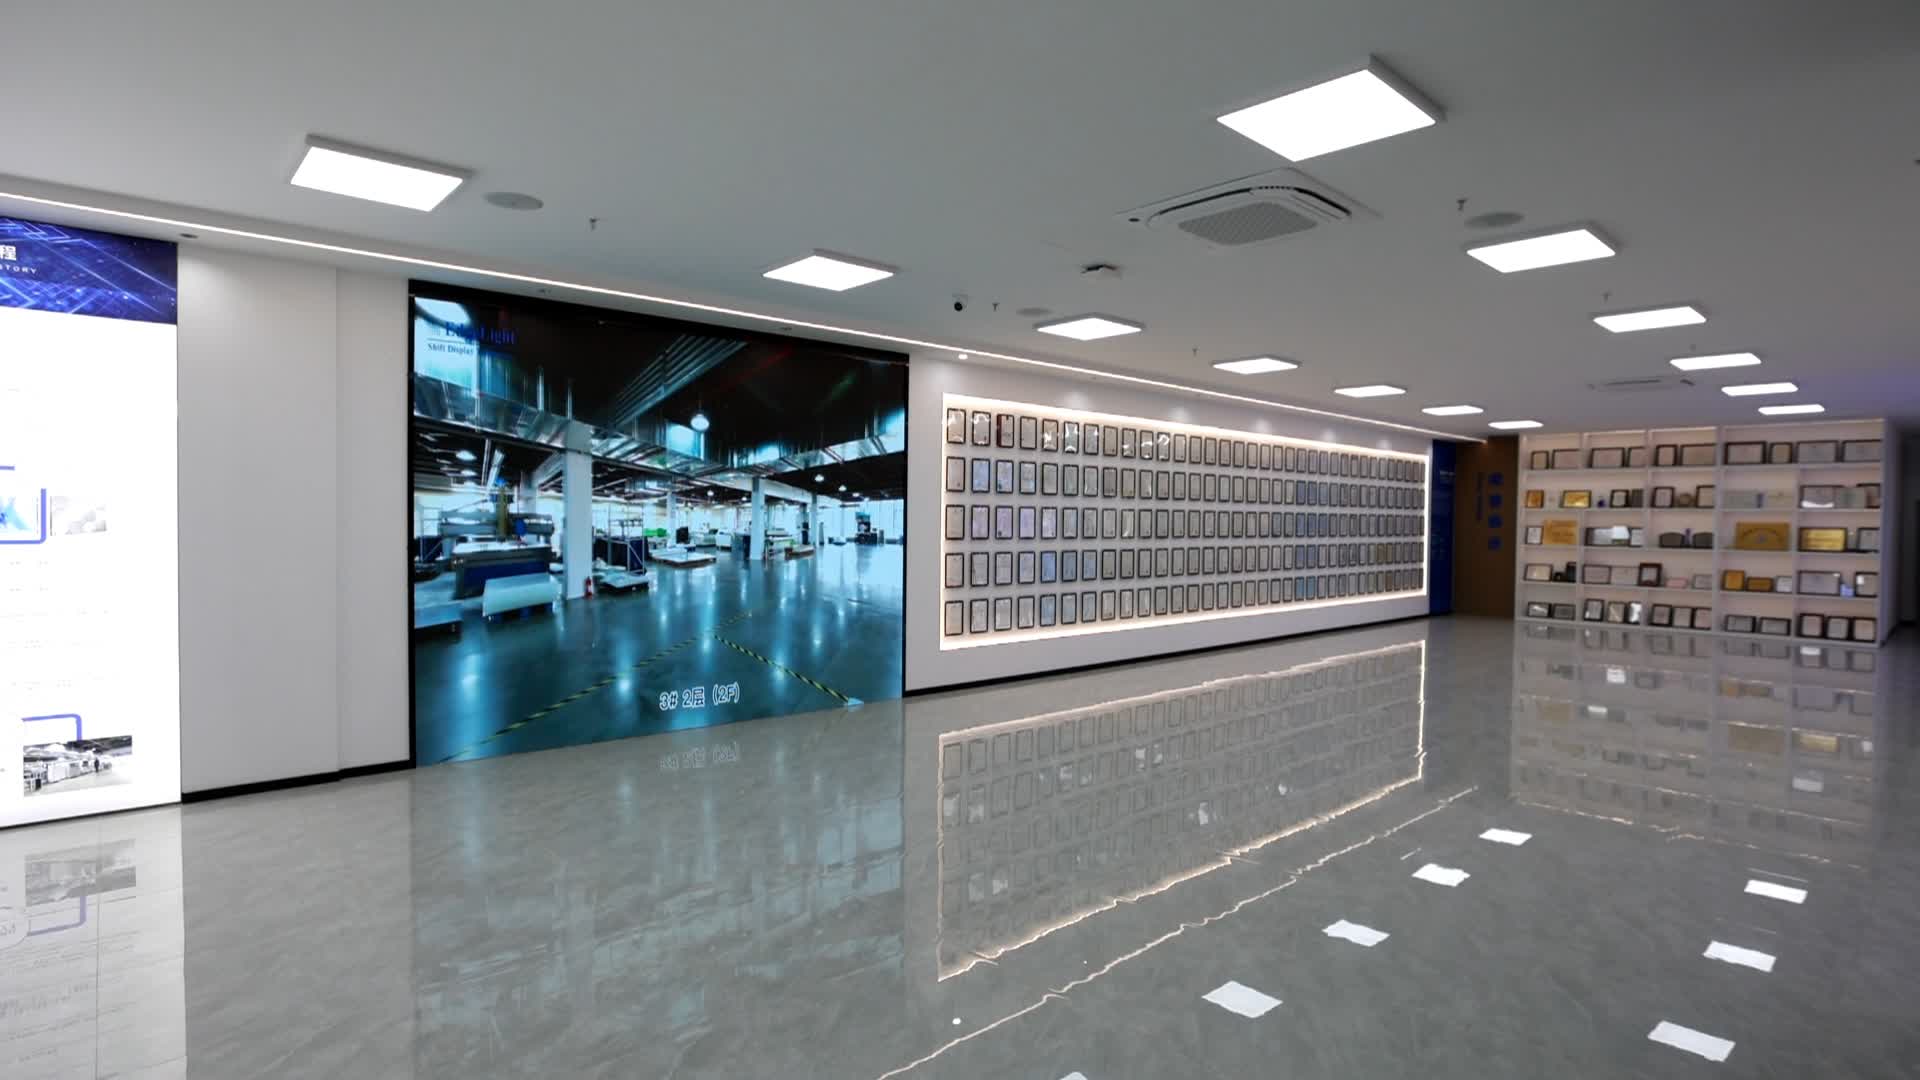
Shanghai Edgelight Industry Co., Ltd. (EDGELIGHT) has manufactured light guide panels and LED advertising products since 2004, from a 33,000 m² main production base with a 25-engineer R&D team, exporting roughly 75% of total sales to the USA and EU. For projects in decision or execution stage, a panel produced at your specified size and thickness is the fastest way to settle the edge-lit versus backlit question.
Order a sample at the production size, request a quotation against your drawing, or download the product catalogue: EDGELIGHT LED Product Catalogue (PDF). Specification detail is available at en.edgelight.com, or contact the team directly by email at info@edgelight.com or on WhatsApp at +8617701891091.
Have Questions or Need More Details?
Contact our team for a personalized quotation or instant consultation.
Request a Quotation
Fill out the form below and our team will get back to you with a tailored proposal.
WhatsApp Direct Chat
Prefer to chat in real-time? Message us on WhatsApp for instant assistance & quick answers.
- Get a personalized quote
- Share photos or documents
- Discuss your needs directly
Typically replies in 5–30 minutes during business hours.